A clean product cutout can make a listing easier to scan, but background removal is not just a one-click task. The quality of the source photo, the contrast around the subject, and the final review all affect whether the result looks professional.
This guide explains a repeatable workflow for creating transparent product images with ImageAI or another background-removal tool.
Start with the strongest source image
Use the highest-quality original you have. A compressed screenshot or image copied from a marketplace often contains halos, block artifacts, and softened edges that become more obvious after the background is removed.
For a better source image:
- Photograph the full product without cutting off corners or handles.
- Leave space around the subject.
- Use even lighting and avoid hard shadows crossing the outline.
- Keep the product visually separate from the background.
- Upload the original JPG, PNG, or WebP rather than a social-media copy.
A plain background helps, but it does not need to be perfectly white. Clear separation between the product and its surroundings matters more than the exact background color.
Remove the background before resizing
Perform background removal before aggressive compression or enlargement. This gives the model more real edge information to work with and reduces the chance of treating compression noise as part of the subject.
In ImageAI, select the background remover, upload the image, review the displayed file limit and estimated credit cost, and then submit the job. The result is delivered as a transparent PNG so it can be placed on different backgrounds later.
Inspect the difficult areas
Do not judge the result only from a small preview. Zoom in and check the parts where automated cutouts commonly fail:
- Hair, fur, feathers, fringe, and soft fabric.
- Transparent or reflective materials.
- Thin straps, cables, jewelry, and handles.
- White products photographed on a white background.
- Dark products against deep shadows.
- Interior gaps, such as chair legs or bag handles.
Use both a light and dark test background. A white halo may disappear on a white page but become obvious on a dark banner.
Keep natural contact shadows when they help
A completely isolated product can appear to float. For catalog images, a transparent cutout may be exactly what you need. For a hero image or advertising composition, a subtle contact shadow can make the result feel grounded.
Background removal and shadow design are separate decisions. Save a clean transparent master first. Add a shadow later in your design tool so it can be adjusted for each layout.
Export a reusable master file
Use PNG when transparency is required. Keep the transparent master at a useful resolution and create smaller delivery versions from that file. Avoid repeatedly editing and exporting the same compressed copy.
A practical naming pattern is:
product-name-angle-transparent-v1.pngThis is easier to manage than names such as final-new-2.png, especially when several listing angles are processed together.
Check marketplace requirements separately
Many marketplaces display product images on white even when you upload a transparent file, and some require a specific background, aspect ratio, or minimum size. Create a transparent master, then export marketplace-specific versions according to the current rules of each platform.
Do not assume one file is ideal everywhere. A square catalog image, a wide storefront banner, and a social post normally need different crops and spacing.
A reliable final checklist
Before publishing, confirm that:
- The full product is present.
- Thin details have not disappeared.
- There is no visible halo on light or dark backgrounds.
- The transparent areas are actually transparent.
- The product has not been stretched.
- The file is large enough for its intended placement.
- You still have the original and transparent master.
A careful two-minute review usually saves more time than fixing a poor cutout after it has been placed in multiple listings.
Published example evidence
The images below are the currently published source file and its corresponding ImageAI result. They document this example and current tool output; they are not a guarantee that every image will produce the same result. Published dimensions: 1200 × 750.
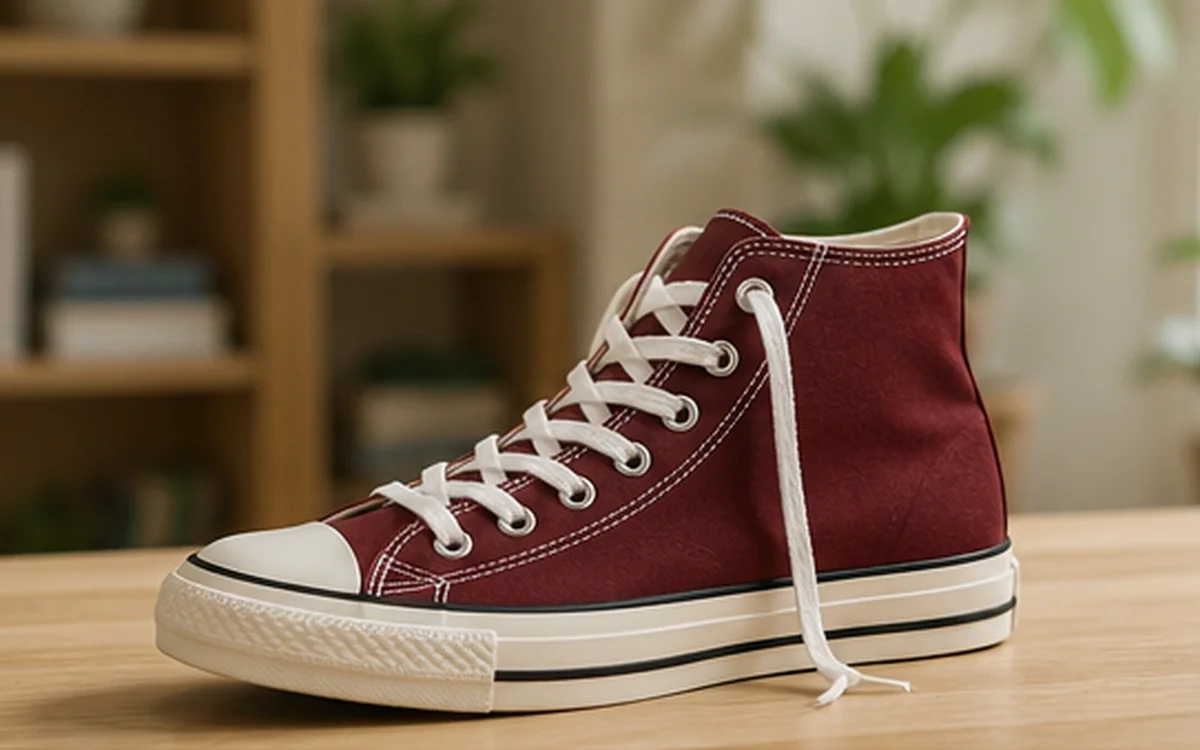
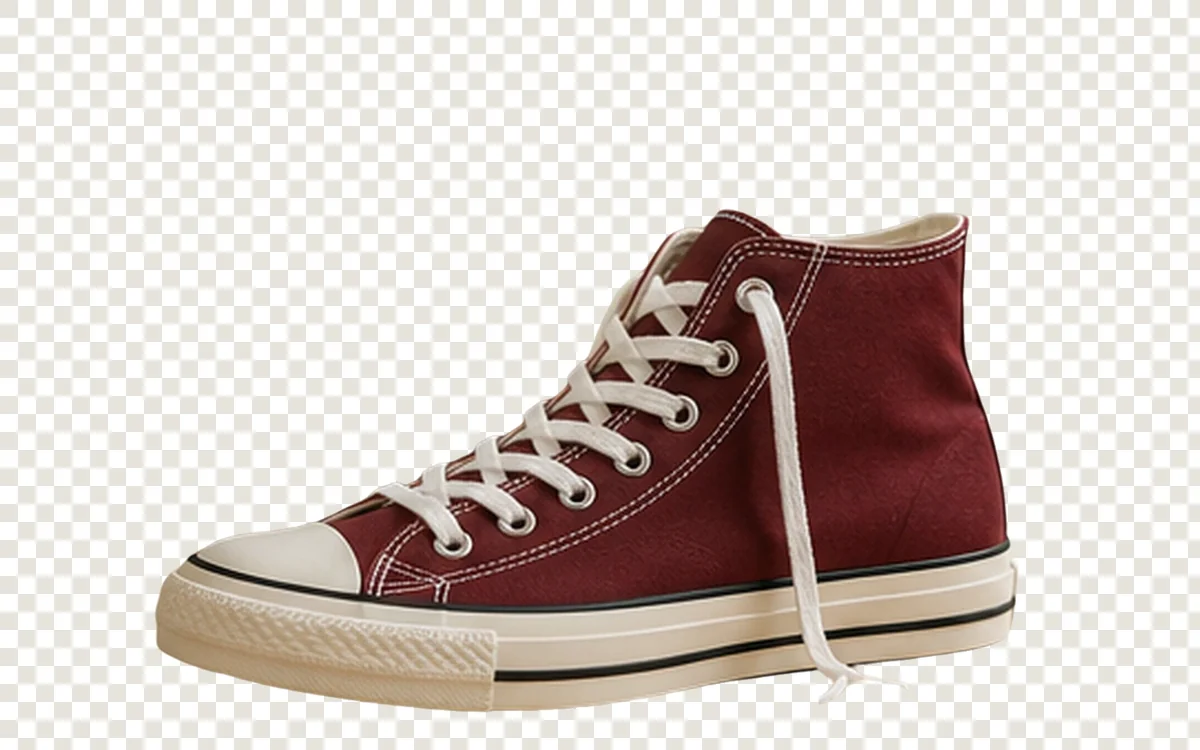
When reviewing your own result, inspect edges, text, texture, color, and transparency instead of judging only from a thumbnail.