Clothing product photos are harder to cut out than rigid objects. Sleeves create interior gaps, fabric edges can be soft, lace and fringe contain semi-transparent detail, and white garments may disappear against a light background.
A reliable workflow starts before you open a background-removal tool. The goal is not only to make the background transparent, but to preserve the garment shape well enough for listings, storefront graphics, lookbooks, and ads.
Photograph the garment for separation
Use a background that contrasts with the dominant garment color. A white shirt on a white wall gives any automatic tool less information than the same shirt on a neutral gray background.
For flat-lay or mannequin images:
- Keep sleeves, hems, straps, and collars fully inside the frame.
- Smooth large wrinkles that change the intended silhouette.
- Avoid shadows that cross the garment edge.
- Leave clear space around the item.
- Use the original JPG, PNG, or WebP rather than a messaging-app copy.
For model photos, make sure hair, hands, bags, and the garment do not blend into a similarly colored background.
Remove the background before resizing
Open the AI Background Remover, upload the strongest original, and review the 10MB file limit and estimated credit cost before submitting. The output is a transparent PNG.
Do not heavily compress or enlarge the photo first. Background removal works best when real edge information has not already been damaged by repeated exports.
Inspect clothing-specific problem areas
Zoom in and check:
- Sleeve openings and the spaces between arms and torso.
- Thin straps, ties, drawstrings, and belt loops.
- Lace, mesh, fringe, fur, and distressed fabric.
- White fabric against bright highlights.
- Black fabric against heavy shadows.
- Semi-transparent veils or layered material.
Place the result over both a light and dark temporary background. A pale halo may be invisible on white, while an overly dark edge may be hidden on black.
Decide whether the model or mannequin stays
A background-removal tool isolates the visible subject. It does not automatically create an invisible mannequin or reconstruct fabric hidden behind a person.
Choose the right source for the intended result:
- Use flat-lay or hanger photos when you need a garment-only cutout.
- Use model photos when the person is part of the merchandising image.
- Use dedicated ghost-mannequin photography when the store requires a hollow garment effect.
Do not expect a one-click cutout to invent missing inner fabric accurately.
Create marketplace and campaign versions from one master
Keep a high-resolution transparent PNG as the master. Then create separate versions for square listing images, storefront banners, email graphics, and social posts.
When a marketplace requires a white background, place the transparent master on a clean white canvas instead of repeating background removal for every platform. Requirements can change, so confirm the current rules for each marketplace before publishing.
Check accuracy before commercial use
A clothing image should not change the product itself. Confirm that the output preserves:
- The real color and shape.
- Logos, labels, prints, and stitching.
- Sleeve and hem length.
- The number and position of straps or accessories.
- Honest texture and condition.
If the source also needs tone or clarity correction, use the AI Image Enhancer after the cutout and compare the result with the original. Enhancement should improve presentation without making the product materially different.
Plan credits and retention around the workflow
ImageAI shows the estimated credit cost before each job. Results remain available according to the selected plan: up to 24 hours on Free, 30 days on Lite, 90 days on Pro, and 180 days on Ultra. Download and back up approved files before they expire.
Review ImageAI pricing for monthly subscriptions and one-time credit packs, or read the digital service delivery policy for delivery and retention details.
Published example evidence
The images below are the currently published source file and its corresponding ImageAI result. They document this example and current tool output; they are not a guarantee that every image will produce the same result. Published dimensions: 1200 × 750.
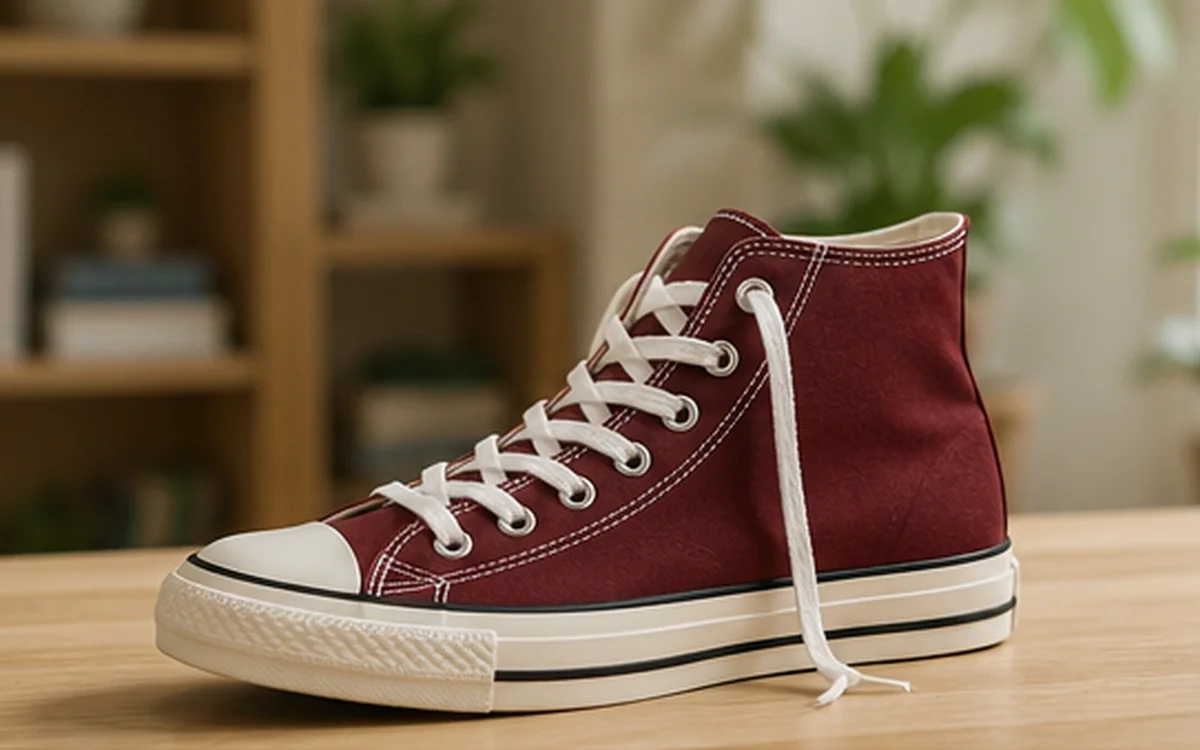
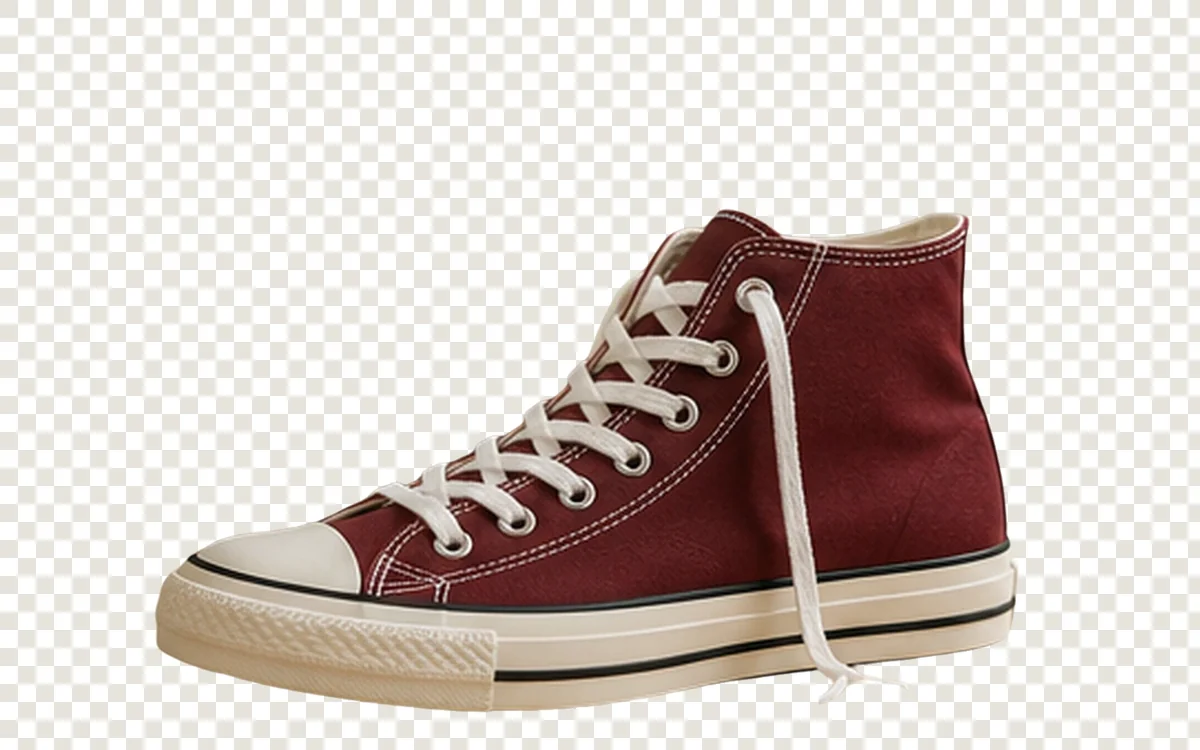
When reviewing your own result, inspect edges, text, texture, color, and transparency instead of judging only from a thumbnail.